
Course Tour
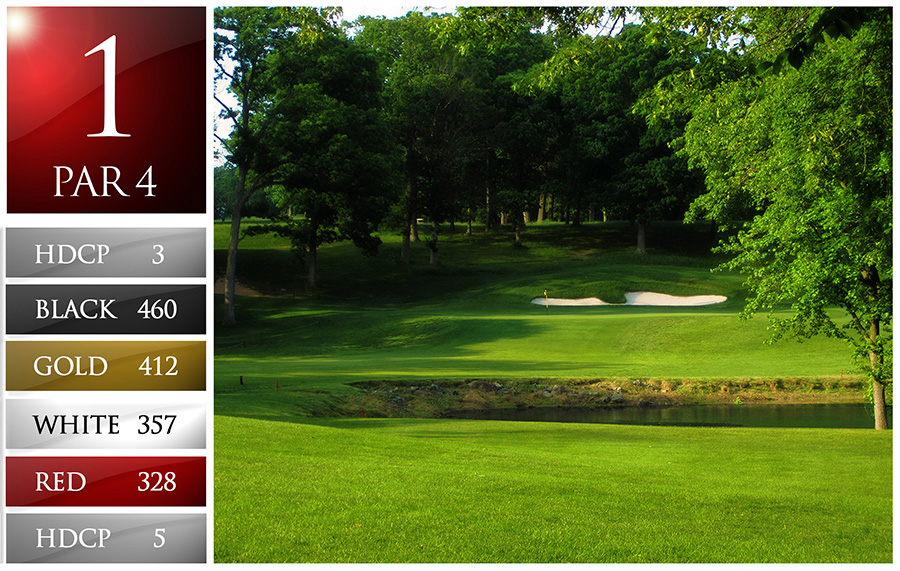
Hole 1
Measuring 460 yards from the back tee, the first hole is anything but an easy opener. From the tee the fairway looks generous in size but beware, the fairway quickly narrows over the hill on the left side and anything right of the fairway kicks down into the tree line. The approach to a wide green looks inviting; however anything over the green makes for a tough up and down.
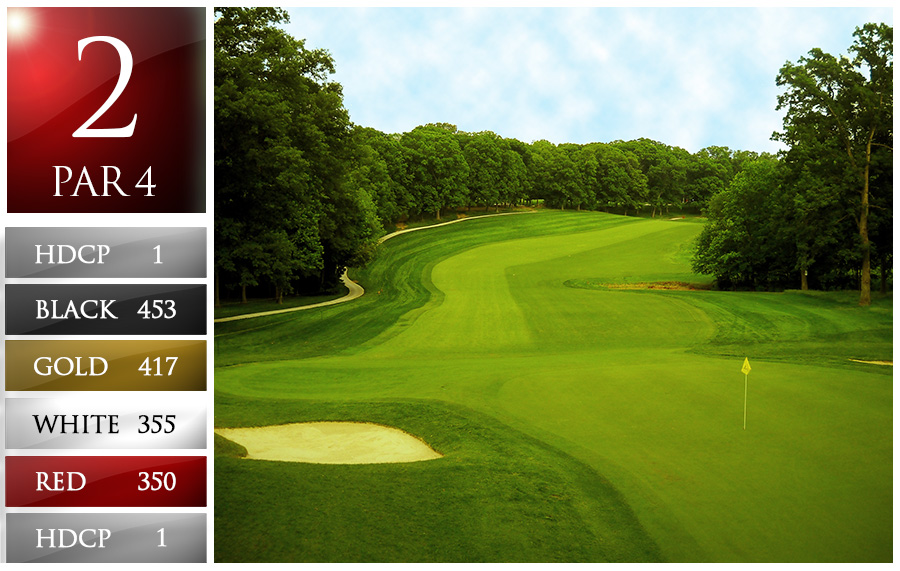
Hole 2
Another long par 4, the second hole is a little more forgiving off the tee. Shots down the right side of the fairway will usually follow the slope down to the flat, leaving a mid to long iron into the elevated green. Dry conditions may bring the left hazard uncomfortably into play, especially for longer hitters. The green is well guarded by bunkers leaving no ideal area to miss.
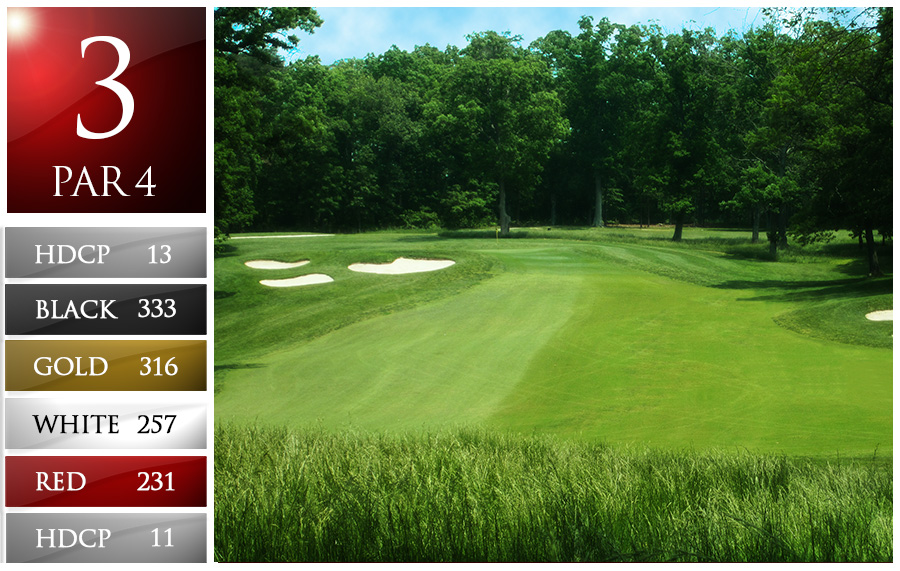
Hole 3
The 3rd hole is a real chance to make birdie after the difficult start. The ideal tee shot with a long iron or fairway wood will favor the right side of the fairway flirting with the bunkers. Getting greedy off the tee can get you close to the green, but will most likely leave you with a blind shot to the hole. A well placed drive will leave a short iron or wedge to severely elevated green that, although not as cruelly sloped as prior to renovation, slopes from back to front leaving a quick downhill putt for anything past the hole. Watch the false front on the front right of the green.
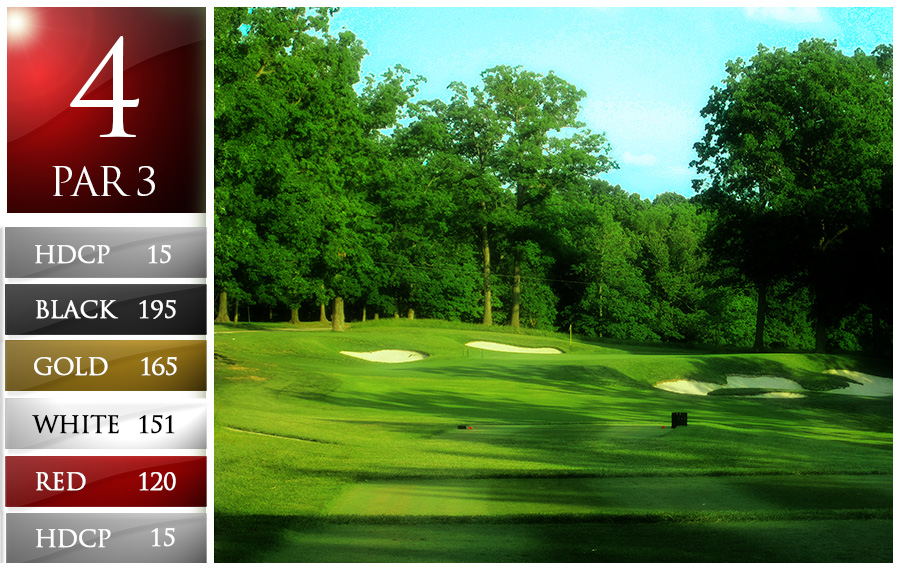
Hole 4
Modest in length, the first par 3 might be the most difficult of the starting holes. The large bunker on the right catches any miss struck shot and has been known to catch some well hit balls as well. With this in mind, the hole tends to play a bit longer than the yardage and going for the center of the green is always the correct play here.
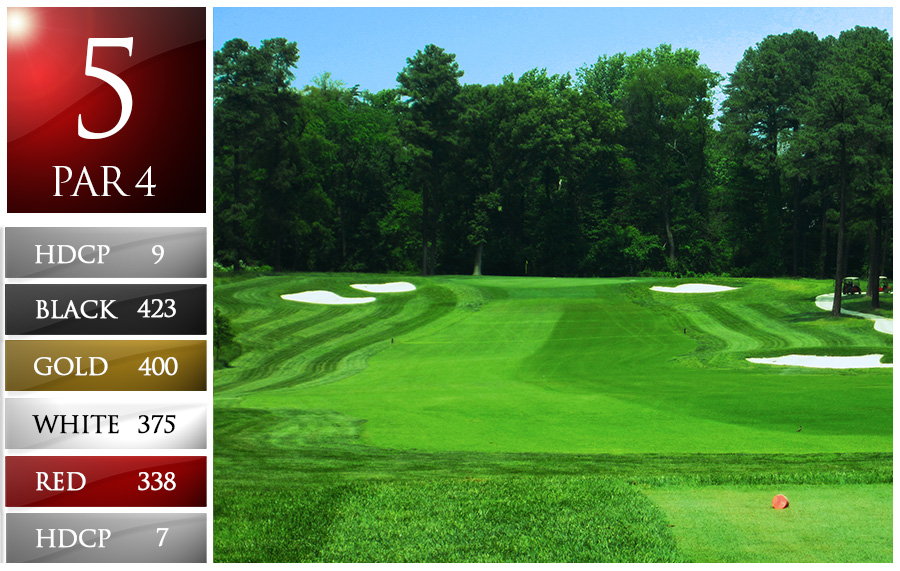
Hole 5
The 5th hole is one of the most generous driving holes on the course. The fairway has a tendency to kick shots to the left. Staying away from the fairway bunker on the right is imperative and approach shots from the left side of the hole are a bit more inviting. The elevated green is much deeper than it appears from the fairway. Approach shots with short irons need to carry a few paces onto the green or they will spin back down the slope.
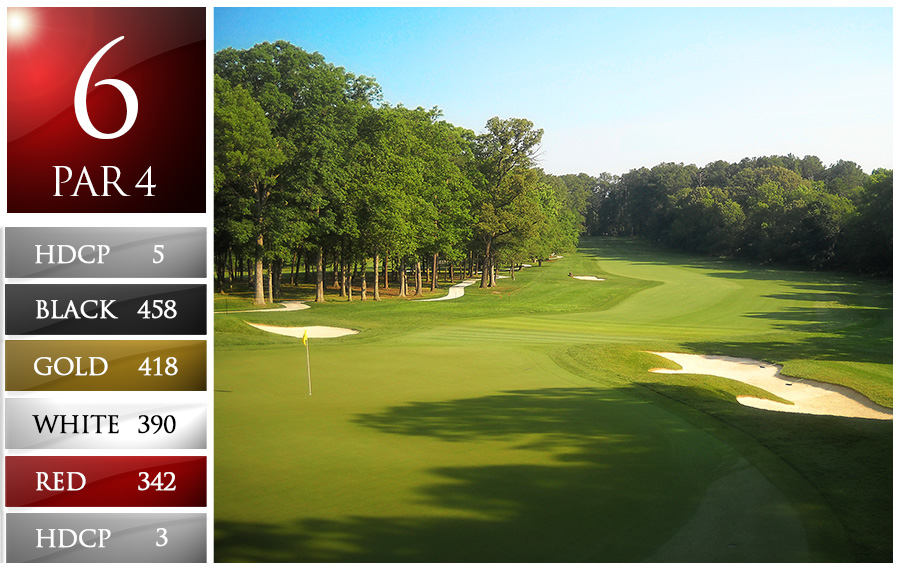
Hole 6
From the tee, this looks like another “grip it and rip it” hole, but the placement of the tee shot is very important. A tee shot down the left side makes this long par 4 even longer and creates a challenging approach to the green. Longer hitters have a chance to carry the bunker on the right and this line gives the player the shortest and best angle of approach. However, a miss to the right leaves a tricky approach due to the trees that line the right side of the fairway. Pay attention to pin placement, the green is huge and has many ridges. If the pin is in the front keep the ball below the flag.
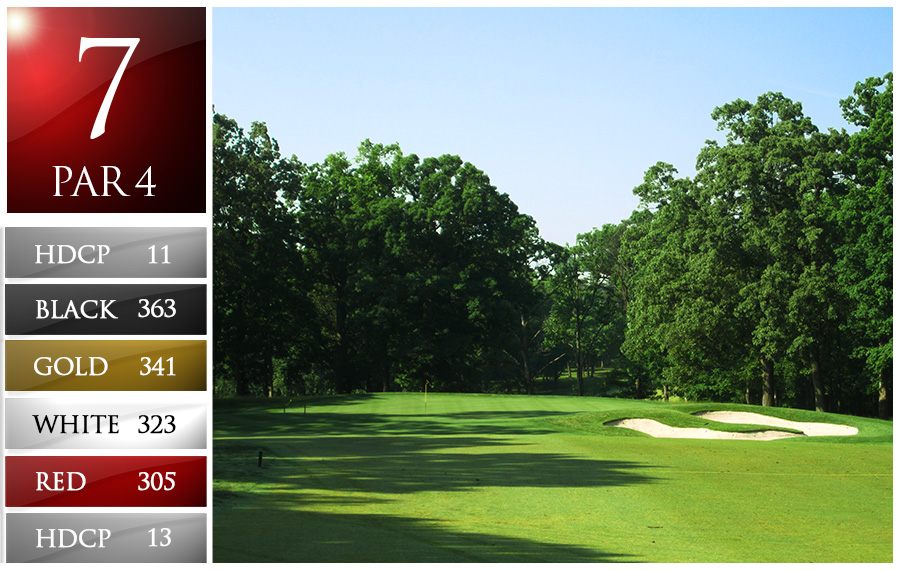
Hole 7
What appears to be the middle of the fairway from the tee is actually the left side of the fairway. Keep this in mind when choosing your line of play. Unlike most of the other greens, this one slopes from front to back giving an advantage to players able to control the spin on their shot into the green. With this said, a solid drive will allow a short approach and hopefully a birdie opportunity.
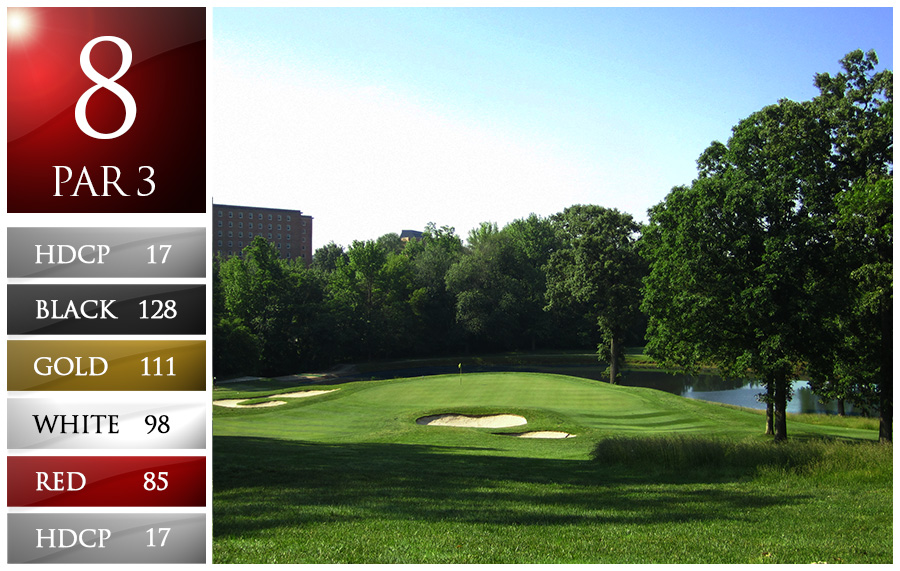
Hole 8
This is easily the shortest and undoubtedly the easiest of the par 3’s. Unnoticeable from the tee, the green has a spine that runs down the middle so missing to the left or right will cause the ball to roll towards the side of the green. This is also one of the few holes where the green is not protected by trees, leaving it vulnerable to the wind. Take this into consideration when trying to take dead aim at the flagstick.
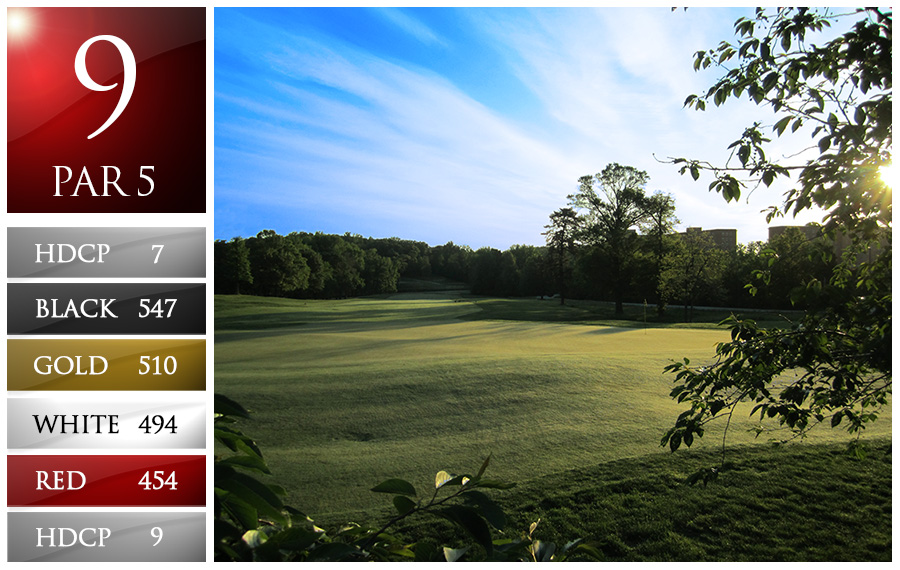
Hole 9
Avoid the temptation to give the drive a little something extra on your first par 5 of the day. An errant tee shot can quickly make this hole a nightmare. From the back tees, the fairway bunkers are out of reach for most. A drive that does find its way into the bunkers all but eliminates the chance to reach the green in two. If going for the green in two, there is no ideal place to miss. There are bunkers short right and short left and any shot over the green leaves a difficult downhill chip back to a two-tiered green. The upper tier is in the back right and very small.
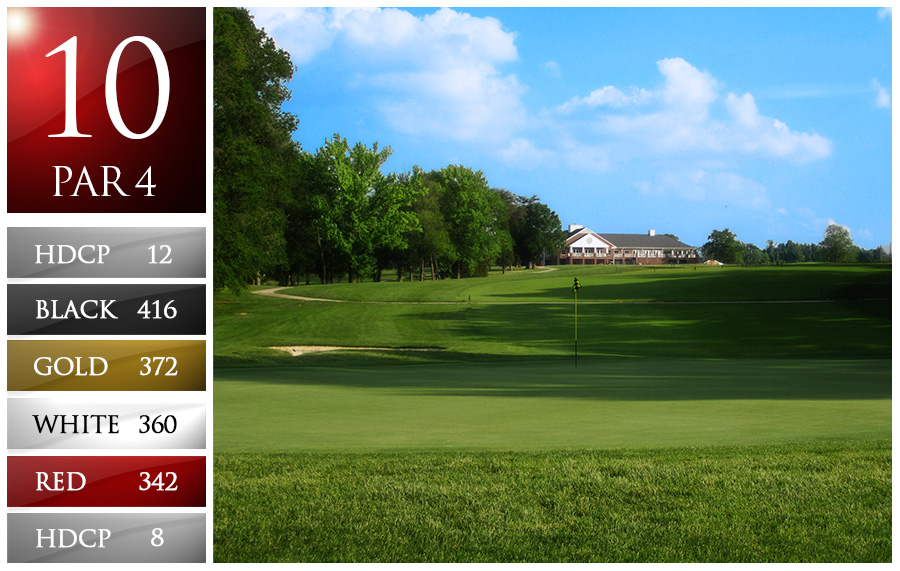
Hole 10
Hitting the drive to the top of the hill is enough to leave 150 yards or less into the green. Anything over the hill will run a bit but will leave a downhill lie. The left side of the fairway is the preferred angle into the green. A drive that clears the bunkers on the right is safe but not preferred because it leaves a forced carry over a large greenside bunker. Like many of the greens, the front of this green runs off so be careful not to leave the approach short.
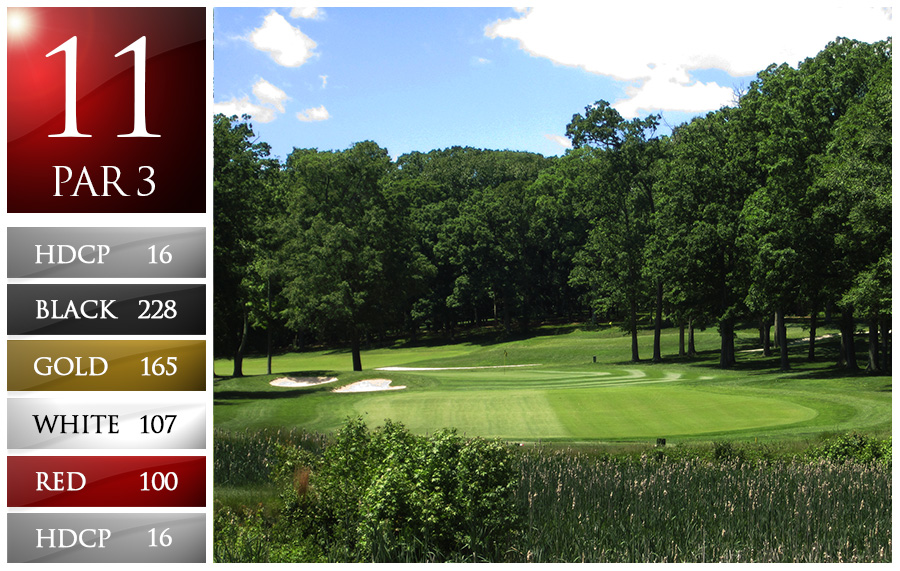
Hole 11
While the water in front of the tee boxes is not in play, it adds a little more intimidation to a hole that is tough enough as it is. Playing almost 230 yards from the back tees, walking away with par here is a good score. The two bunkers on the left must be avoided so the obvious bailout is front right. However, chipping from the right side of the green is difficult as the mound on the right creates a difficult slope to deal with when trying to nestle one up close.
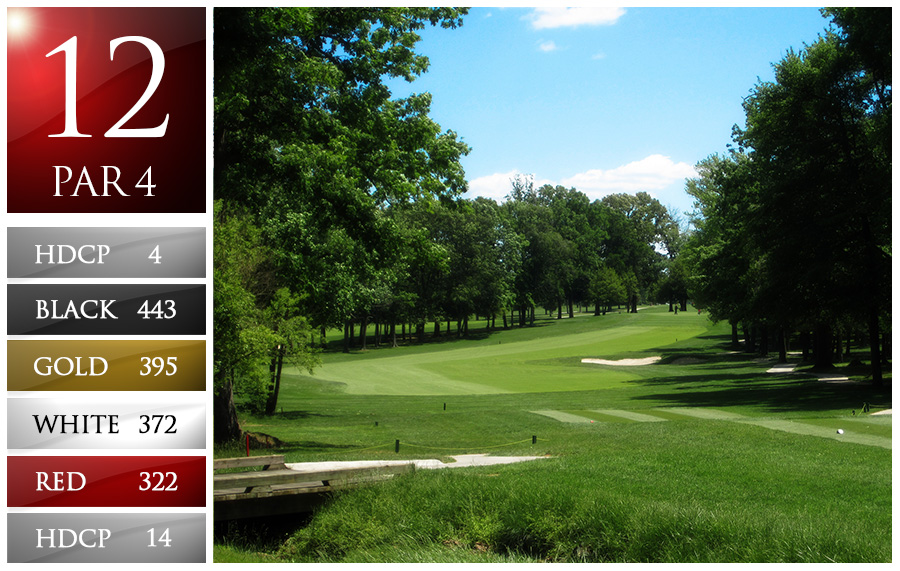
Hole 12
Standing on the tee, a left to right tee shot appears to be the obvious play but be careful not to overdo it. While the hole does dogleg right, a straighter drive serves just as well and will help avoid the bunker and trees on the right, both frequent locations for drives that move too much. It is hard to judge the distance to this elevated green and balls that land short tend to spin all the way back down the hill. There is no good place to miss this green, however, left leaves the most difficult chance to recover.
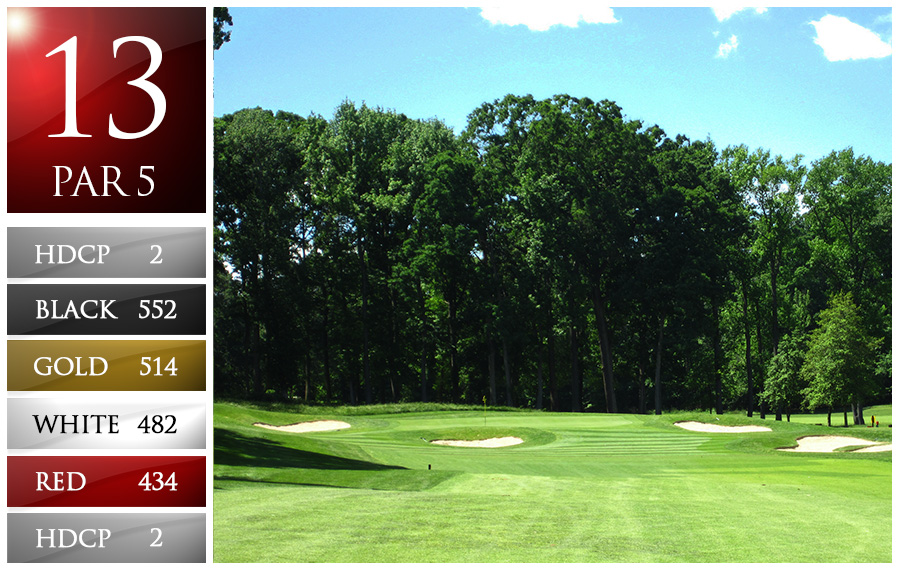
Hole 13
While it is visually very different from the first par 5, the tee shot is very similar as the fairway bunkers must be avoided. The hole is a slight dogleg left but the fairway slopes to the right making it difficult to cut distance off the hole. The green is reachable in two with consecutive solid shots, but getting a ball to run up on to the green is not likely. The green is guarded by bunkers in front and short right. Laying up to a comfortable distance is the best option as distance control is vital when approaching the two-tiered green.
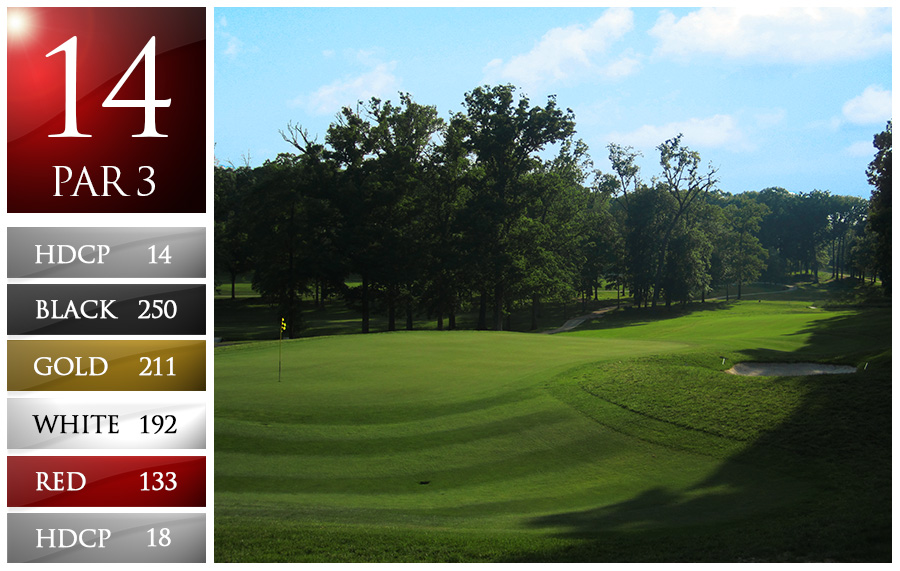
Hole 14
As if the other par 3’s weren’t challenging enough, this one is a real test. From the back tees it plays 250 yards to an elevated green. The green is framed by deep bunkers. The right bunker is cut into the hillside below the green and often saves pushed shots from ending up even further down the hill while the left bunker is cut into the hillside above the hole and often prevents you from using the hill to bounce shots onto the green. There is a chipping area in front left of the green but if the ball manages to stay on the hill or bounce into the bunker, the shot that follows will not be fun.
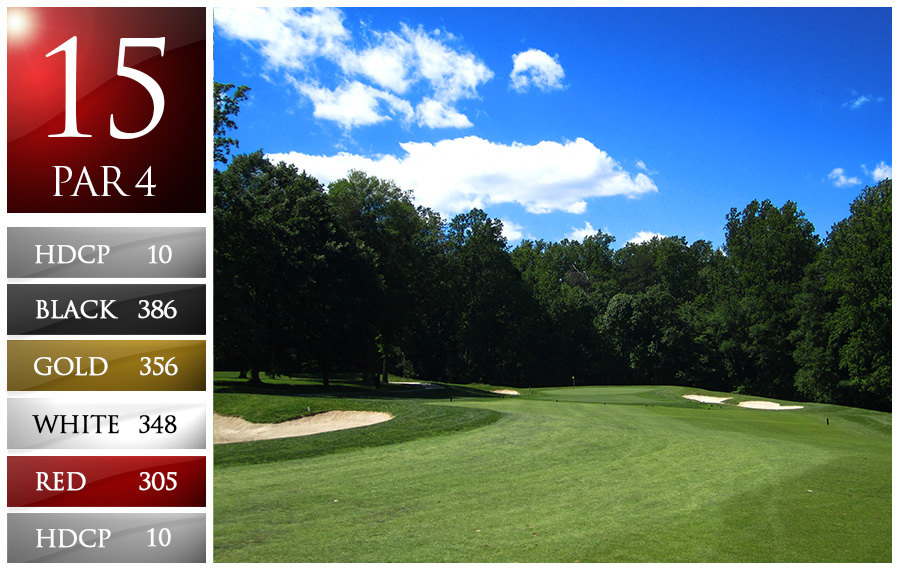
Hole 15
The green is not visible from the tee, which for most players is probably a good thing. A slight dogleg left, it is tempting to take a direct route at the flag but the huge bunker on the left side is a difficult carry. A tee shot just outside of the right edge of the bunker is a great line. Longer hitters may take a more aggressive line or work the ball from right to left around the trap. A successful drive will allow a relatively easy approach to a narrow, but inviting green.
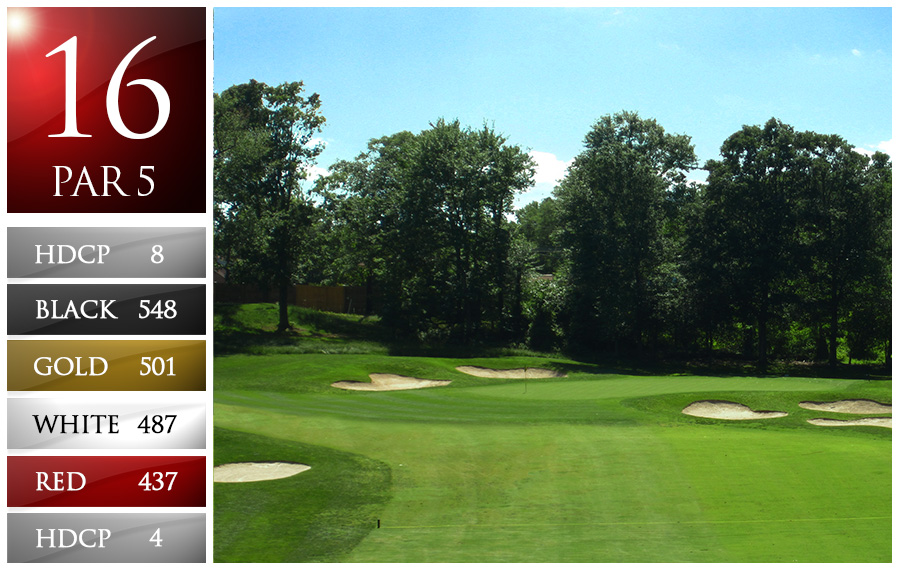
Hole 16
Played as a three shot hole, a drive down the left hand side leaves a comfortable lay-up to the flat at the bottom of the hill and then a short wedge into the green. Attempting to reach the green in two requires a tee shot that brings the fairway bunker into play. Long hitters may attempt to fly the bunker but choosing the correct line is vital. Even with a perfectly placed tee shot down the right side, the approach shot presents a difficult decision. Trying to get a long iron to stop on the putting surface is difficult, especially with bunkers in front and behind the green. When laying-up, judging how close to get to the green can be a challenge. The last option is to run the ball up the left side with hopes of catching a piece of the green. Even with this approach, steering clear of the bunkers in front and behind the green is a daunting task. Pin placement is critical when contemplating how to approach this hole.
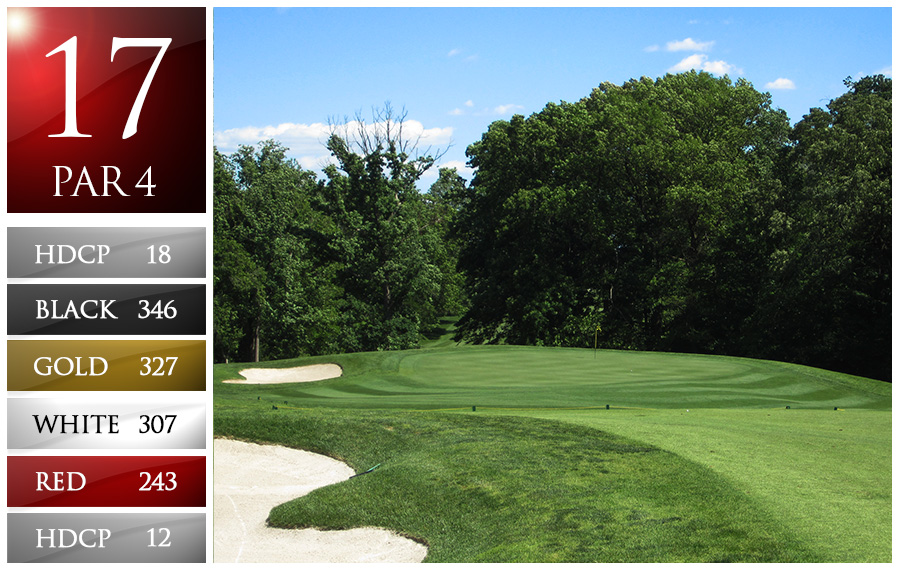
Hole 17
Seen by many as an opportunity to get some breathing room, this short par 4 has the ability to catch you by surprise. The tee shot favors a right to left ball flight but if it is overdone the fairway bunker, or even worse the left trees, come into play. As with several of the holes at Maryland, the possibility to roll a drive up near the green is intriguing, but the front right of the green is guarded by a chipping swale and is by no means an easy up and down. The high percentage play of a long iron off the tee here might be the best leaving you a full wedge into the green.
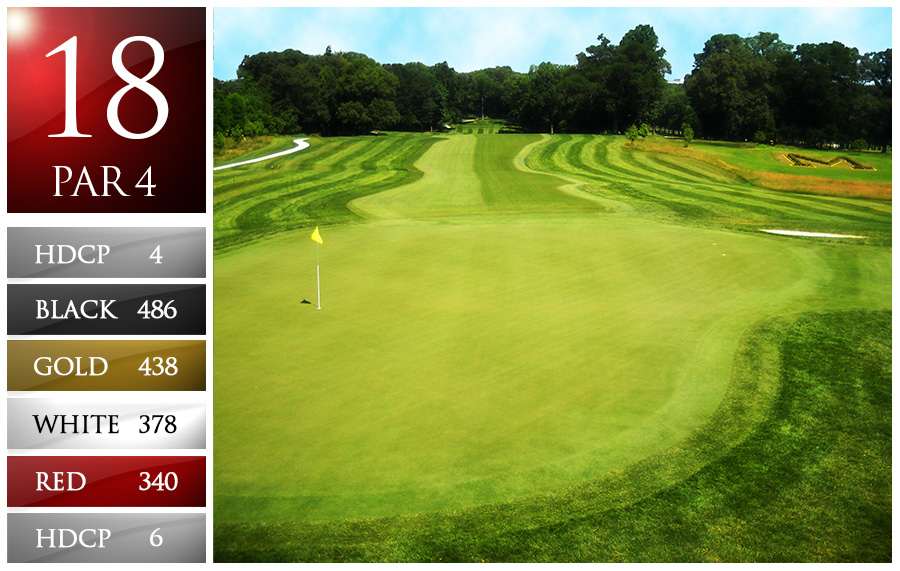
Hole 18
Hopefully by this point, you’ve gained some confidence in your driver and are ready to send one flying. Stretching to 486 yards and usually into the breeze, this hole is long. Carrying the ball past the crest of the hill will give you a few extra yards, but be wary as the fairway narrows and balls that are thought to be in the short grass are frequently in the rough. The green is well protected with bunkers on the left and the right, but the opportunity to run the ball up the chute is there. Once on the large green, the surface is relatively flat so rolling in a long one would be a great way to end the nine.